Andrea’s Bathroom Vanity – part 1
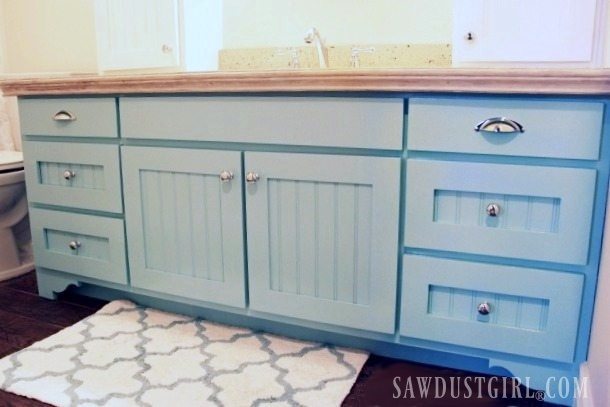
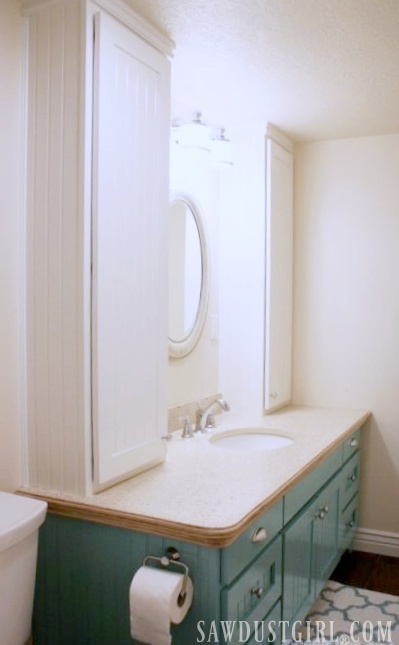
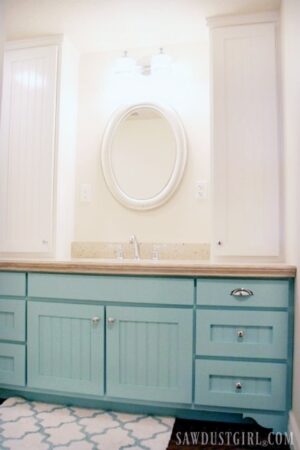
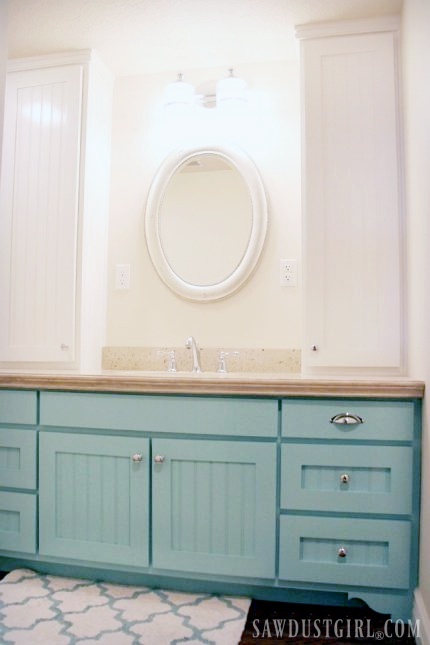
Andrea is a client who built a custom double sink bathroom vanity. Andreas vanity has drawers and doors and then there are two storage tower cabinets that sit on top of the vanity for even more storage. This is part 1 of her project story.
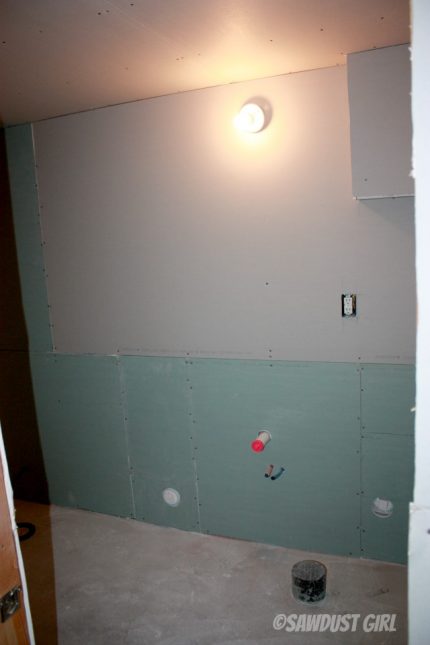
Andrea’s Bathroom — BEFORE
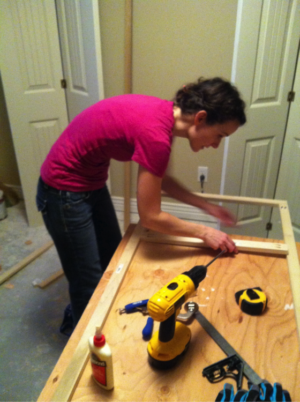
This building thing has been an education in patience and self-discovery. Patience with myself (I like to be perfect, but that is not a possible factor in building), discovering my own “creative process” (which is just a lot of thinking and planning + procrastination + feeling defeated a lot + needing a break to get over my defeat after every. single. step.), and learning to deal with the unexpected.
I received my instructions, bought the wood (the same day – man, this was going to be done in no time! – I thought), and then wondered how I would cut it. My husband wouldn’t let me use his table saw because he said it would, and I quote, “tear off your arms and legs.” Yeah. It is old and scary – crooked without a fence. So we hunted for a table saw. Which took a month.
I built my carcasses after thinking about it and being too scared to do it for a couple weeks.
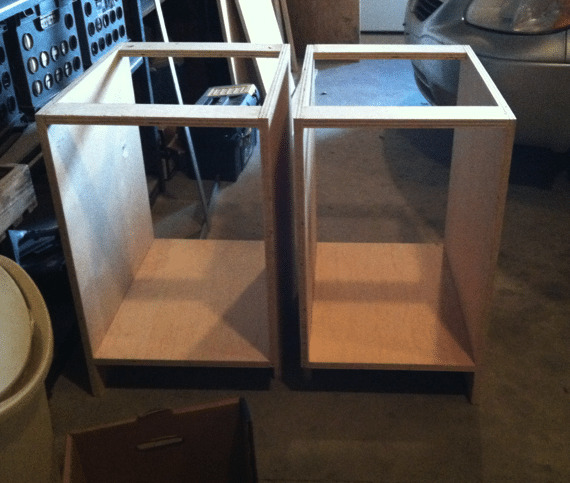
It was so exciting to get them done, I texted pictures to my husband. He immediately asked if they were square. So I held my breath and measured. Then I sent this picture to him. Because they WERE square, and I felt so relieved I could have kissed them. (but I settled for a quick hug).
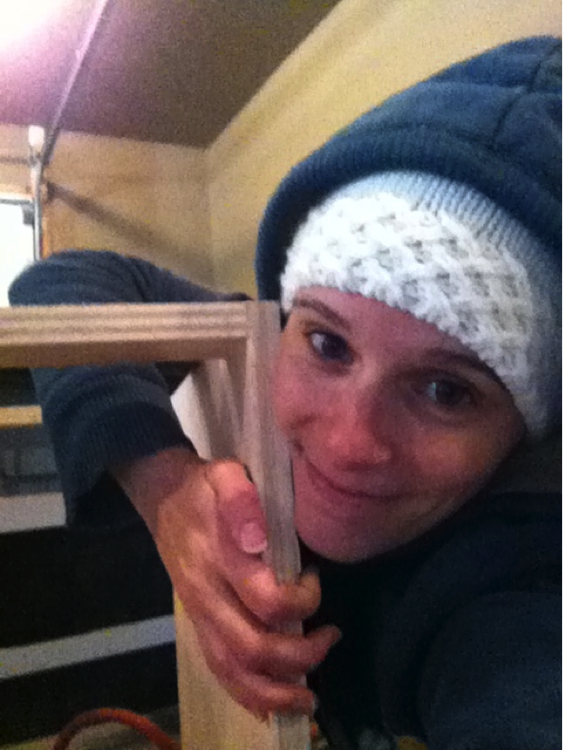
Then they sat in my garage for a month. Then they sat in my basement longer. I needed straight wood for my face frames, but none was to be found. Anywhere.
Christmas came and went. December was a complete bust. Except for the tool pouch my husband gave me for Christmas– stuffed full of my favorite mint chocolate truffles and a tape measure of my very own. People looked at me funny when I answered their, “What did you get for Christmas?” with that.
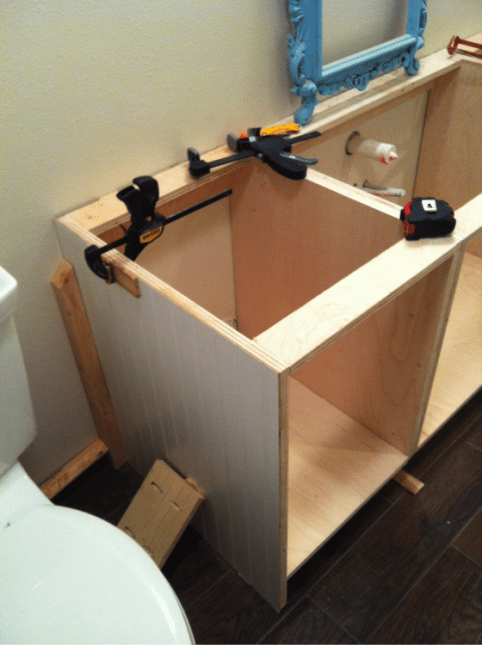
I got my husband to help me install the carcasses, cause those puppies are heavy and awkward, and I didn’t know how on earth to do it. We added beadboard to the exposed side with some liquid nails, and we clamped that down and let it dry. It made the whole basement stink. I’m pretty sure liquid nails kills brain cells. But what are a few brain cells when it comes right down to it?
I finally just decided to make do and cut straight pieces of wood out of really long boards, and had my face frame done in no time. Why had I waited so long? It was a cinch with my awesome pocket hole jig (I had to get a feel for it first by building an end table with about 40 bajillion pocket holes in it – that took a couple hours, but then I felt confident in my pocket-holing abilities).
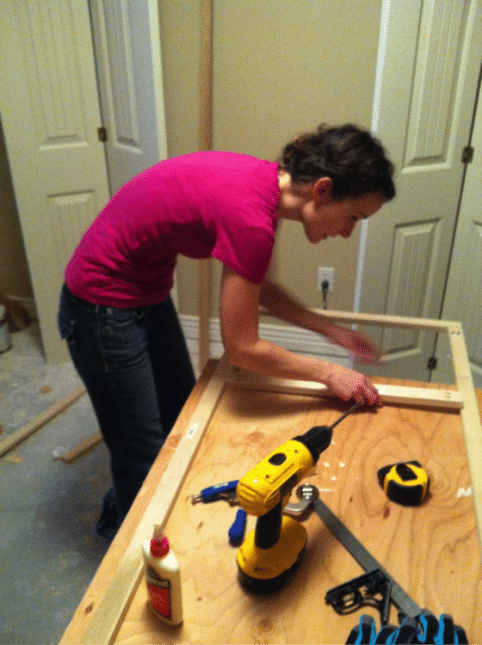
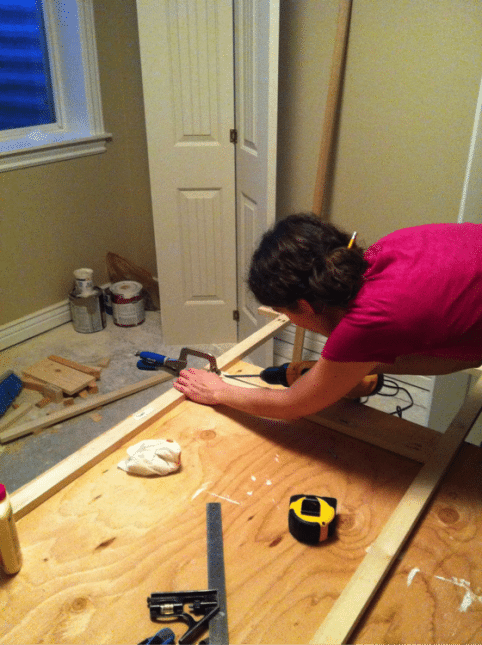
(Oh, did I mention I was painting and caulking every square inch of my basement in between all this? Yeah, it was a very un-fun winter at our house)
Anyway, I sanded and painted the face frame (two coats of primer, two coats of turquoise),
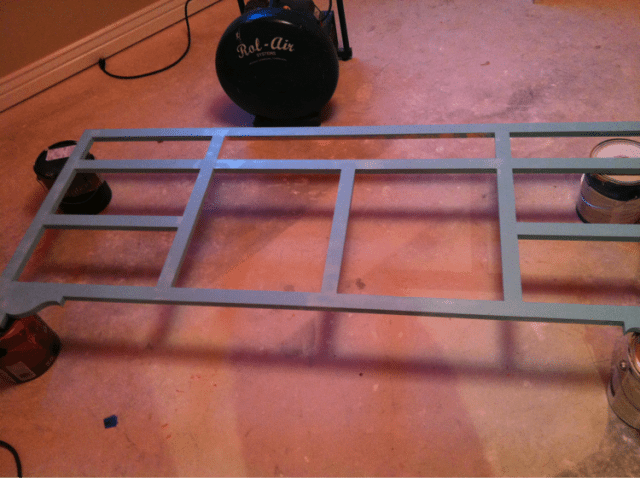
and it took me at least a week to work up the courage to install it. Then I patched the nail holes and repainted it. It looked so beautiful. Every completed stage is like heavenly shafts of light beaming down and angel choruses – the project looks so much better!
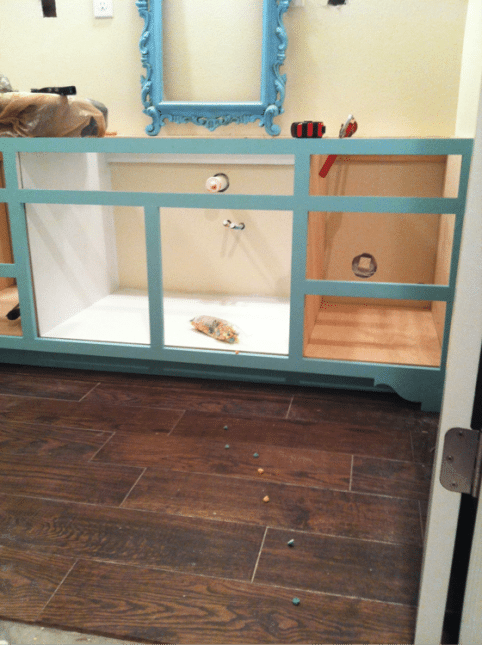
(never mind the little mints in the photo – I took the picture for my friend who knew I was feeling overwhelmed, and suggested I lure someone into the bathroom to finish my project for me…it didn’t work, just in case you wondered.)
I built my upper carcasses, but had to wait for counter tops before I could finish them. In the mean time, carpet was installed downstairs, so I lost my workspace. The weather was nasty (as it is 8 months out of the year here), so it got REALLY hard for me to find the will to work on my project. I am not much (at all) for being cold and/or uncomfortable.
Like every phase of this project, the countertop phase was a one step forward, two steps back experience. It took a month for the counters to be poured and ready (after much debate, we settled on decorative concrete). Then it cracked in half on the way to deliver it to my house. They had to start over. Then they installed the sink, and we discovered that the drain (which we had never thought to look at) was way too high. We tried to find a plumber willing to move it (so we wouldn’t have to buy a new sink and faucet or rip out the cabinets), which took some time. Then the holes in our brand new sheetrock that resulted were daunting and frustrating. Like, you guessed it, everything else. To which lead me to share my inner monologue with you via a daily journal so you can accompany me on the duration of this journey.
Andrea’s Bathroom Vanity – Part 2
This is Part 2 of Andrea’s bathroom vanity build story. Read part 1 here.
February 22
Today I built one drawer. It’s way too small (by about ¼”), but I don’t care. After my last experience, I am thinking too small is better than too big, and I am erring on that side of things. I need to go buy more wood, but now I’m kind of wondering if I can just use the old tattered pieces from the janky drawers, after all? We’ll see. I am waiting for them to dry, as I had to glue them together in some places. Like I said, we’ll see.
Cutting all the pieces for six drawers took an entire day (I waited for a sunny one so I wouldn’t freeze to death out in the garage) because I am too cheap to go buy a dado blade set.
I hate building drawers. This is something I never knew about myself. I had to set them aside and think about them all weekend (as I am wont to do, come to find out). I was too scared to measure them to make sure they’d fit. I was positive they wouldn’t – they were such a nightmare to build. Finally, I bit the bullet almost a week later and took one downstairs to install it. It fit like they were made for each other. I fought the urge to do a tap dance on my roof with a megaphone, screaming, “It fits like a freaking glove!” (I may have done it on facebook instead of on my roof)
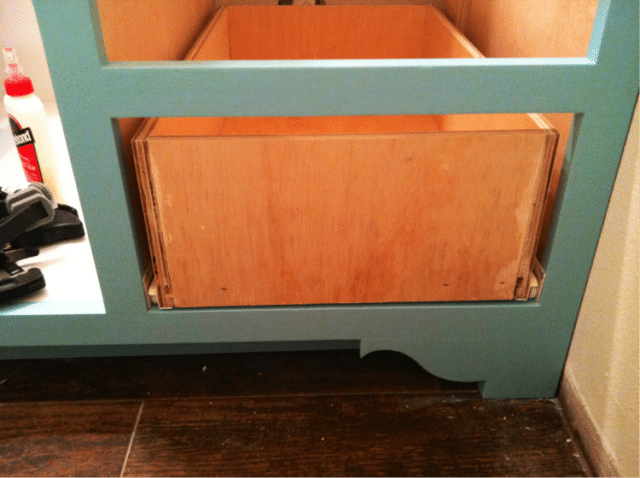
I installed the other two the next week (installing, to me, is WAY easier than building the drawers), and they fit even better than a glove, if that’s possible. Of course there was one minor set back when I got so excited that I didn’t even look at my drawer track when I put it on the drawer, and it was completely wrong (backwards). Fixed in no time. I rock!
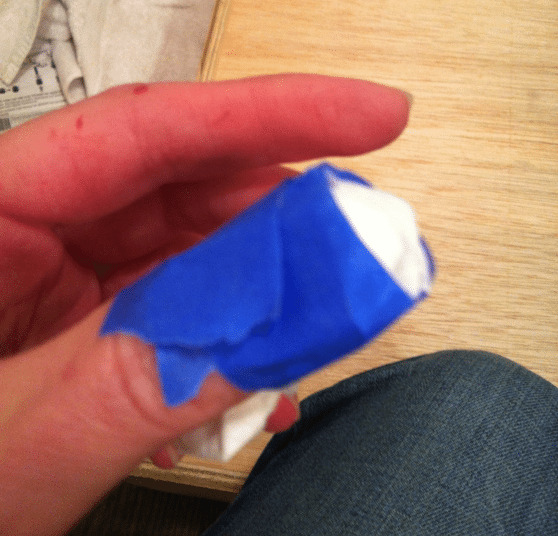
I set aside a morning to build and install the last three drawers with confidence practically oozing from my pores. They didn’t fit. Not one. Plus, I did something to my thumb and it bled everywhere. I wrapped it in a paper towel and secured it with some blue painters tape that was handy. My husband would be so proud (which is why I texted him a picture). Also received multiple sliver wounds. Ouch. I felt defeated. I spent the rest of the afternoon (okay, 15 minutes – which was all I had before my kids got home from school) sitting in front of my space heater, feeling sorry for myself and eating truffles (did Ty foresee this when he gifted me so many for Christmas?). I texted him that it was a two-truffle day.
I tried to salvage wood from the traitor drawers, but just got mad every time I went in the garage. I felt ridiculously gloomy and tired of building for a couple weeks.
February 24
I ended up not needing any more wood! Hooray! Somehow I made it all work with scraps (luckily the top drawer is only 3” deep, so it was easy to find scraps that would work). The top drawer is shorter than the others, but who cares? After the kids were all in bed I installed the drawers. They were harder than the others to install. I swore plenty. They’re IN!
Then, Lo, what is this? A router on Craigslist, complete with a router table, for $35?! Perhaps a router would make rebuilding the drawers easier (dado with a regular table saw blade much, anyone? No? Let me break it down for you: that equals 24 passes – if you’re lucky – per drawer). Having a router made me feel rejuvenated and ready to try again (retail therapy works across the board, apparently).
February 25
Skyped with Sandra today, she’s so cute. She talked me through the process of building doors and gave me some tips on finish (polyurethane inside of drawers, or paint with high gloss – I’m going to paint, since I had to use some wood filler in a few spots; polyurethane over turquoise if I am going to be scrubbing it, but poly turns white paint yellow over time, so use polycryllic for the white). I never know what she’s talking about cause I’m such an amateur, but she explains it over and over, and I eventually get the gist of it…usually the next day after I’ve turned it over in my mind a few thousand times. I am excited to start the drawer fronts and doors. But not this week. This week my house looks like a Marty Gras party exploded in the living room. It is Chocolate Extravaganza (the biggest school/community fundraiser of the year) this Saturday. After that, I will be able to breathe, hopefully, and concentrate on my project.
Doors and drawer fronts are tricky, but I marked everything really well with painters tape, made copious notes, and totally nailed it.
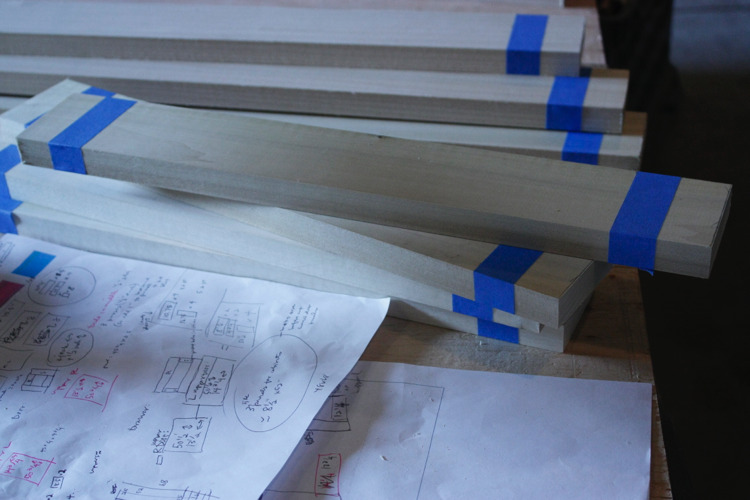
Just don’t ever look at the backs of them…
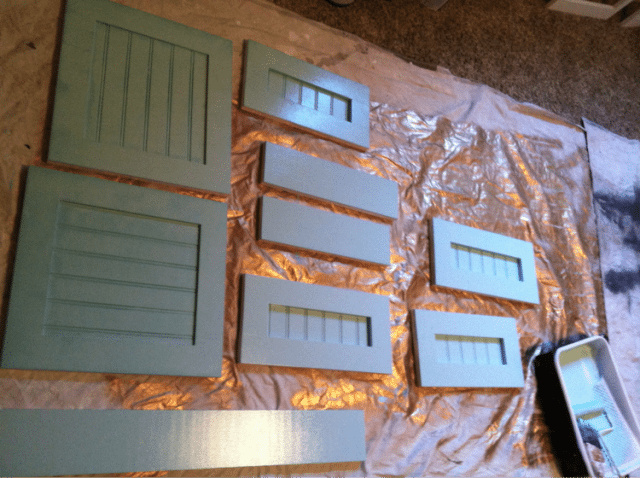
I have been priming and painting for what seems like months, probably because it has been. It feels like it will never end. But it has to.
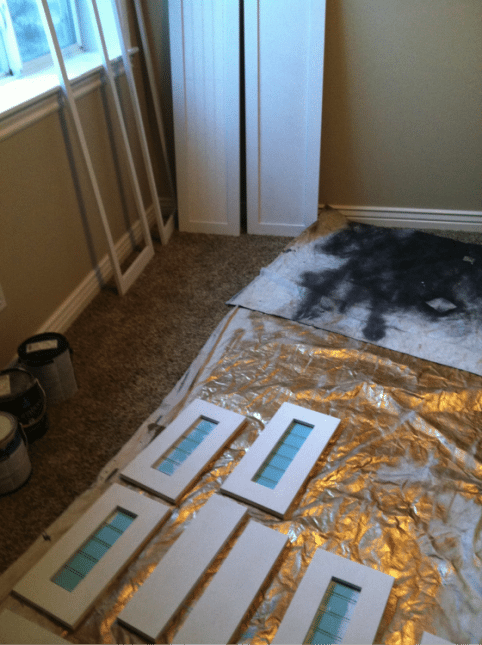
I never learn to be patient. Instead I jump straight to, “Oh, crap. I HATE them! What am I going to do?” I always forget that once everything is painted (and not just primed), it looks better. Getting these puppies all turquoised-up made me love them.
April 9
It took me several trips to the store, and the backs of my fronts (confusing enough for you?) look like wood peckers live in those drawers, but I got them on and they are like music to my eyes – if there is such a thing.
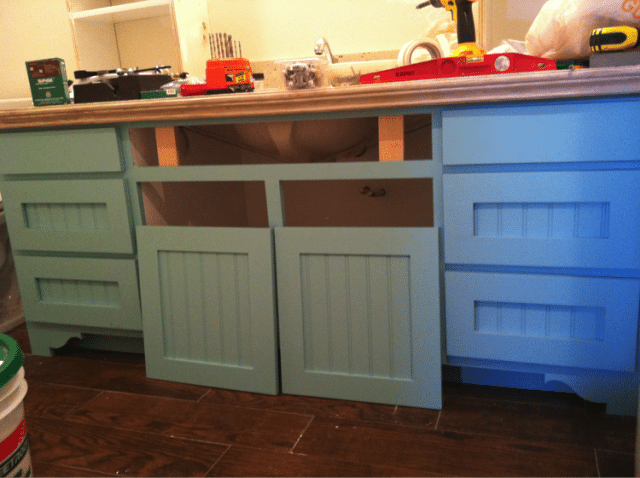
May 2
I am practicing some serious self-restraint right now. I will not cry. And I will not (…wait…will I…?) tear my stupid cabinets into tiny popsicle sticks. I tried to install hinges just now. I bought a template to make it easier. Foolproof, you might say. Well the hinge people never saw this fool coming, apparently. Because they don’t fit. They tore little chunks out of my doors. I am ready to be done. I had planned to get hinges on today, and then get everything installed and trimmed tomorrow; the grand finale, right? Now I just want to burn down my house and walk away. I am seriously pissed and discouraged right now. I am waiting for my husband to get home, just in case he knows some secret magic trick that will make this all go away.
May 5
The moral of this story is don’t buy cheap hinges from your local home improvement store. Save yourself a lot of grief and order some nice ones. I ended up doing a lot of sanding and drilled two extra holes that I had to patch (I used small chunks of plywood, and then sawdust and glue to fill those huge cup hinge holes – it was a pain). I installed the upper cabinets tonight (which sucked – next time I will consider the placement of studs when planning the size of my carcasses). I hate them. Like, a lot. I feel more than ever like a complete failure. It’s been a rough week, and I’m sick, so maybe that’s why it feels like the end of the world.
May 10
I hadn’t stepped foot in the bathroom since I installed the uppers, because I just couldn’t face them. I spent the weekend away, hoping Ty would just finish the project for me, but knowing he wouldn’t (I have a strict no-helping-cause-this-is-my-project policy). Because I felt completely over it. Sick and tired, actually. Literally. I came home, saw the saw out, and ran downstairs. He had trimmed out the cabinets (the wall is so wonky, there were big gaps), and put the trim on top of them. I sat down on the floor and bawled while he told me that he knew I hadn’t wanted him to, but that he had been in that situation before: stuck, and thought maybe I wouldn’t mind a little help. I felt so relieved! Amazing how a few small feet of trim took me from hating the look of those upper cabinets to loving them. I am now reenergized and ready to finish this mo!
May 12, 2014
Caulked and primed everything that hasn’t been caulked and primed (at this point it’s hard to believe there is anything left in this world that I haven’t already caulked and primed). I am so scarred from my last hinge encounter, that I am putting off putting on those last two doors. But I am determined to get done this week, so I think tomorrow is THE day!
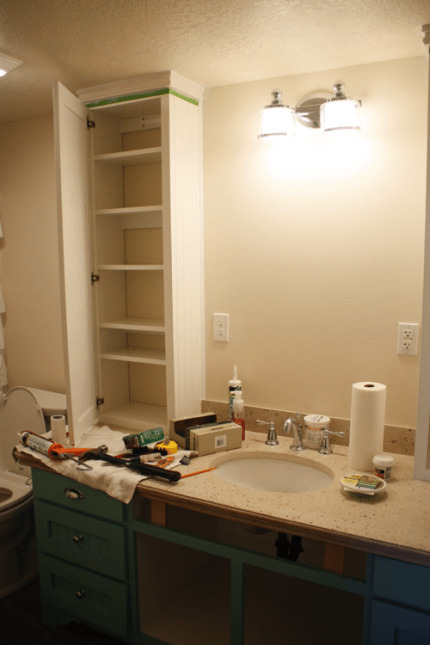
Finale: Mostly I feel a sense of relief that this experience is over. By the end I was so tired of looking at it, thinking about it, worrying about it, and knew all its imperfections so intimately, that I kind of didn’t want to look at it ever again. That has faded, and has been replaced with a feeling of accomplishment (thanks in large part to my husband, who countered all my bad attitude and negative remarks with positivity until I finally came around). Part of me – the perfectionist part – wants to build vanities repeatedly until I can do it in under an hour, perfectly, but the more dominant part of me – the part that wants to learn something new, and then once I do, I am no longer interested – has no desire to build a vanity ever again. BUT I have all sorts of other projects crouched in the corners of my mind, just waiting to pounce. And if what Sandra told me on Day 1 is true (“If you can build a vanity, you can build anything”), now I know I can figure them all out! By myself! It’s a good feeling.

