When Cara told me her technique for marking and cutting the electrical outlets in her office built-ins, I giggled …and then asked her to please document it with some pictures to share. So this update is also a tutorial for what I think is a smart tip for marking outlet location.Unusual but very smart! Catch up: part 1, part 2, part 3
Here are Cara’s tips for cutting outlet holes in EXACTLY the right location because after you spend months building them perfectly, the last thing you want to do is cut a big hole in the wrong spot during installation.
***Just make sure that before attempting any electrical work you make sure the electricity is off!***
June 1,
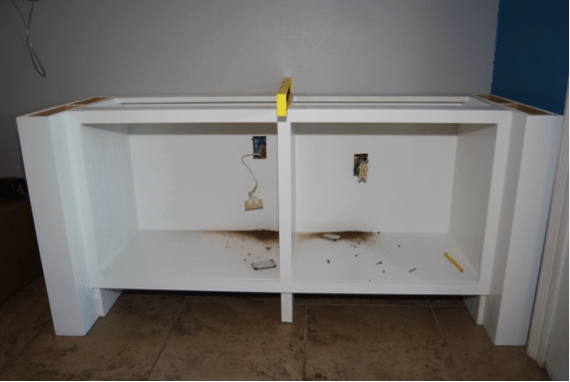
After putting so much sweat, blood and tears (YES, ALL THREE OF THOSE) into building these cabinets, I really didn’t want to screw up cutting a 2 ½ by 3 in box in the back of the cabinet, only to have it in the wrong place.
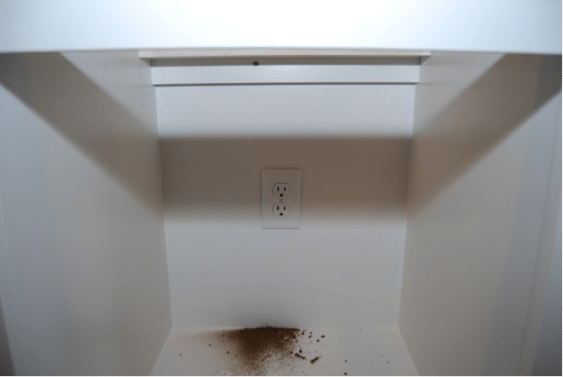
Enter stage left, Colgate toothpaste.
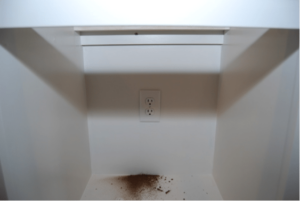
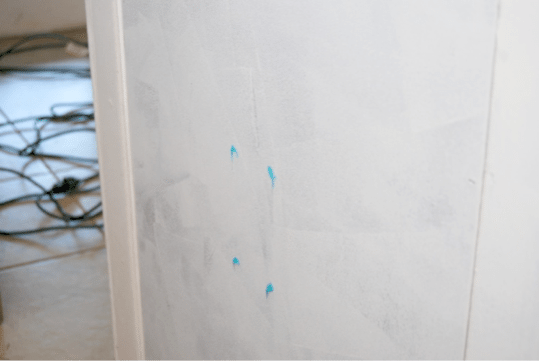
I honestly cannot remember who told me about this, or if I dreamed it or what, but it worked like a charm for us and it was minty fresh. What I did was put four little dabs of toothpaste on the outlet front, and then I jammed the cabinet into the wall, where it was going to be positioned. Then I pulled out the cabinet and these four little dabs had transferred to the back of the cabinet.
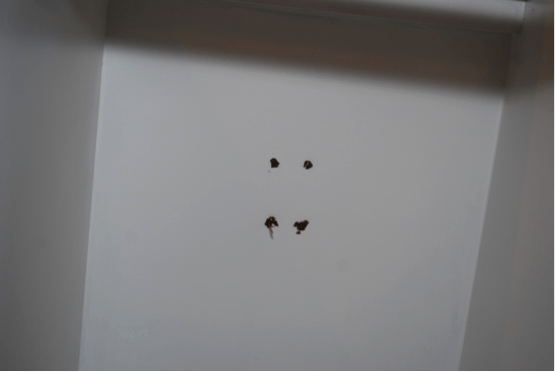
This gave us our jumping off point. We drilled four holes inside to where the toothpaste was and cut out a small rectangle.
Then we trimmed it until the junction box fit in its hole.
Perfect fit! And still minty fresh! 🙂
Read all of Cara’s posts here:part 1, part 2, part 3, part 5, part 6, part 7, Reveal.
The free plans for the Cara Collection office furniture built-ins are available at SawdustGirl.com.