
Today I am working on getting the layer of MDF that goes under the oak plywood countertops. I don’t know if the pictures show the work space accurately or not, but I am actually very intimidated by this part of the project. Our countertop is 23 feet long!! This will be seen by everyone and needs to look good. I used MDF for the under countertop part. I rip them all to 24 inches wide and lay them out so I can start marking all of my cuts.
Now I get to cutting.
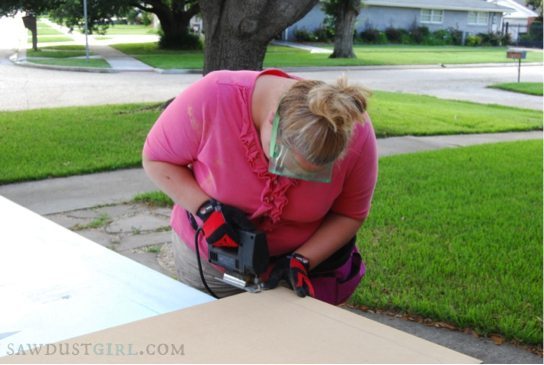
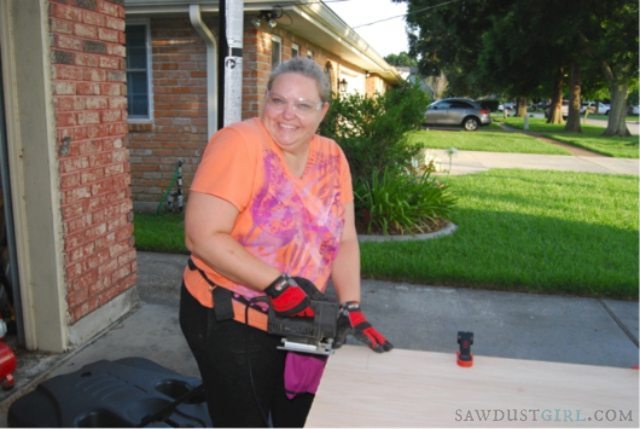
Now, don’t you get all jealous about my pink tool belt. That was my mother’s day gift from my daughter!

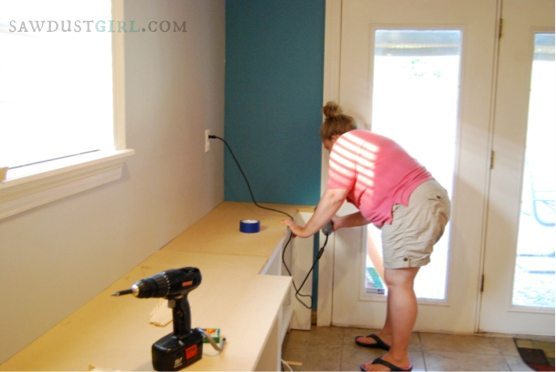
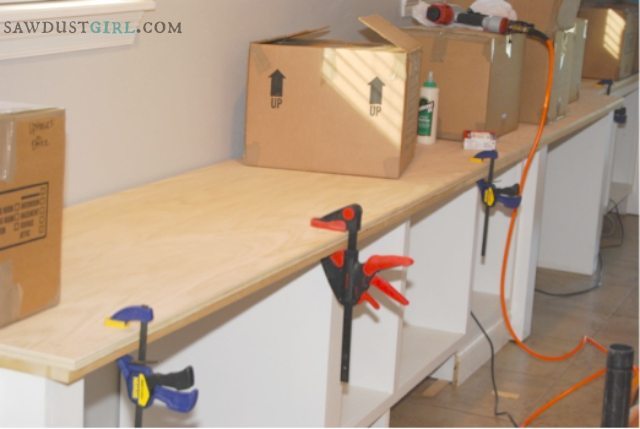
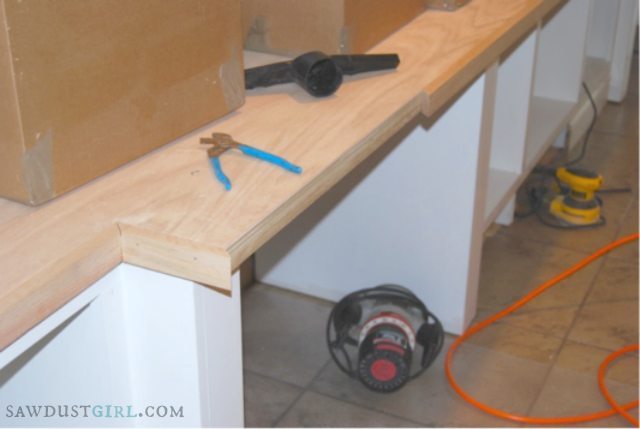
Here I am doing a dry fit of the MDF before I drill it in.
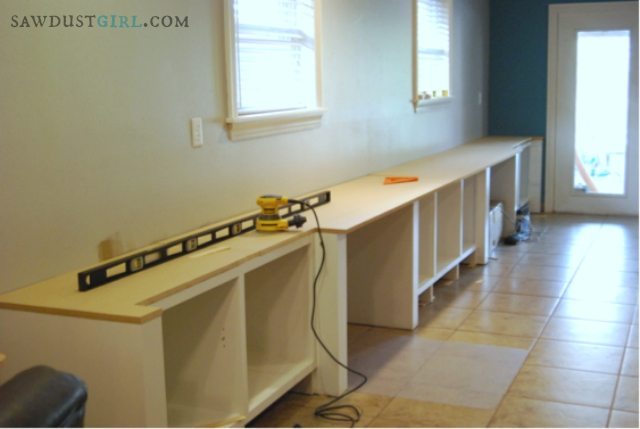
Umm, yeah, instead of modeling my pink tool belt, I should have been paying more attention to my cuts. I had some that were not exactly straight and I had to use a power sander to sand down the MDF to get them correct.
Now that all of the MDF substrate is in, I can start on the actual top that will be seen.
Unfortunately all of the lumber yards in my area only cater to the building industry and are only open 7-4 M-F, so I am unable to get around to them to see my choices of lumber. Instead I went with the big box store and selected a cabinet grade oak plywood, and oak 1X2 for the facing. Same as with the MDF, I rip the plywood into 24 inch width and use my Kreg Rip cut!
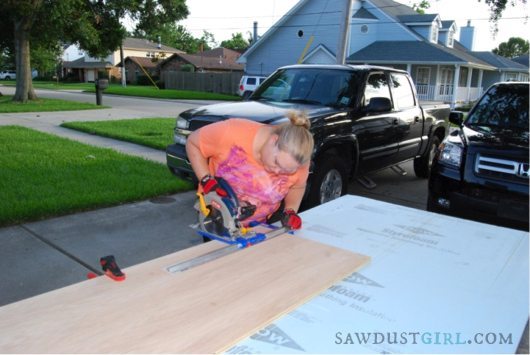
I also make all of my other markings and use the jigsaw for the smaller cuts.
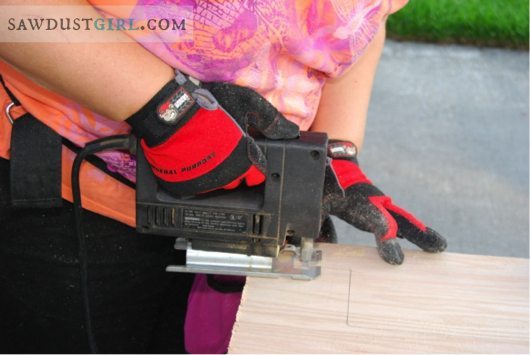
Cutting wood is always fun!
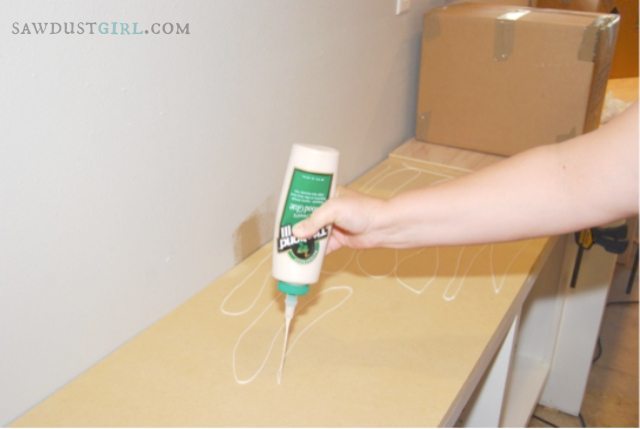
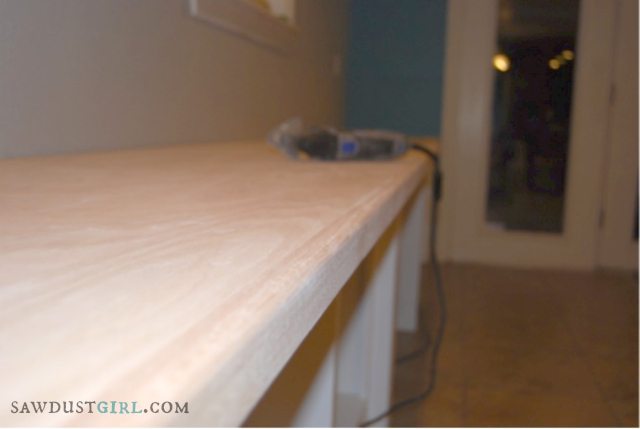
Now that all of the pieces are cut, I use today to glue and nail down the top.
Now that the countertop is down, I move forward with adding the facing edge.
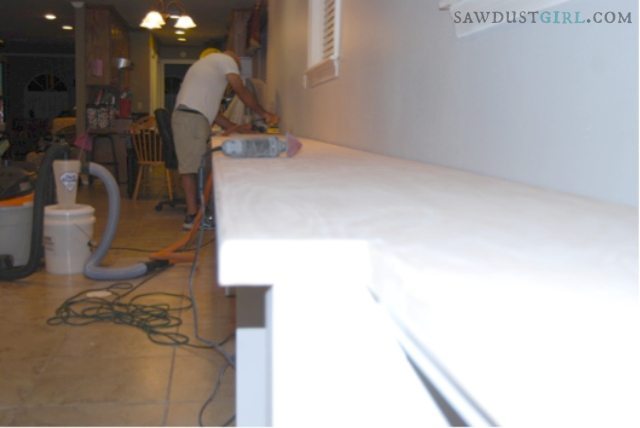
I use a router with a bit and give the facing a curved edge, since I will be working here every day. I wasn’t too thrilled about having a sharp edge on my forearms all day. The router worked like a charm! I love the smooth round edge.
Next my husband sanded the top of the countertop, while I sanded the facing. We used 220 grit to get a super smooth finish.
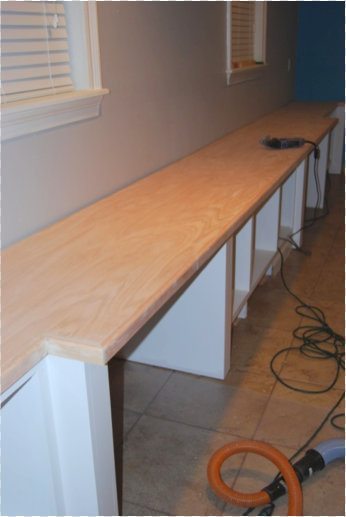
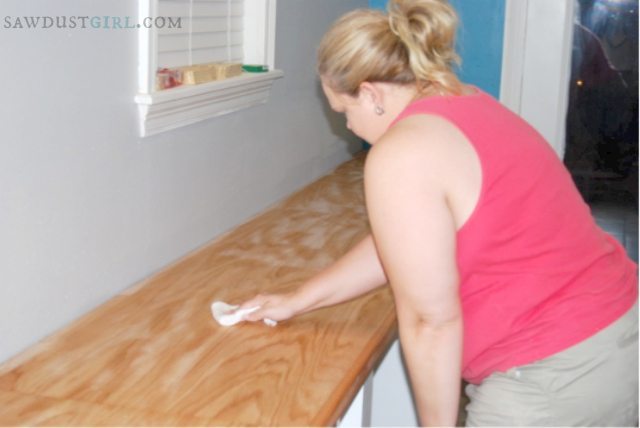
Here it is all ready to be stained.
I really wanted to use Sandra’s method of Waterlox tung oil, however there is no store within a 50 mile radius of us that sells it, therefore I am forced into stain and polyurethane. To prep the wood, I wiped it down with papertowels and then I wiped it down once with mineral spirits.
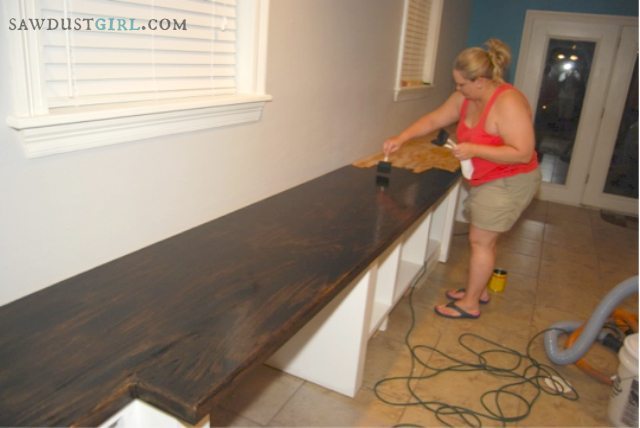
Then the fun begins! I selected an ebony stain. Because this is oak and is a hard wood, I had to let the stain set for 15 minutes and then iwpe it down. I repeated the process the next morning.
June 29th, 2013
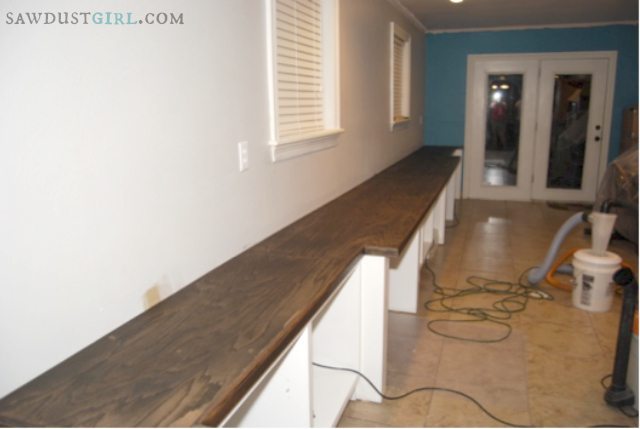
I applied the second coat of stain and then I went swimming and took a nap and enjoyed the rest of my weekend. I can honestly say that I.LOVE.IT!! My countertops turned out better than I could have hoped for. I still need to put three coats of polyurethane on them, but that will have to wait until tomorrow.
Read all of Cara’s posts here: part 1, part 2, part 3, part 4, part 5, part 7, Reveal.
The free plans for the Cara Collection office furniture built-ins are available at SawdustGirl.com.